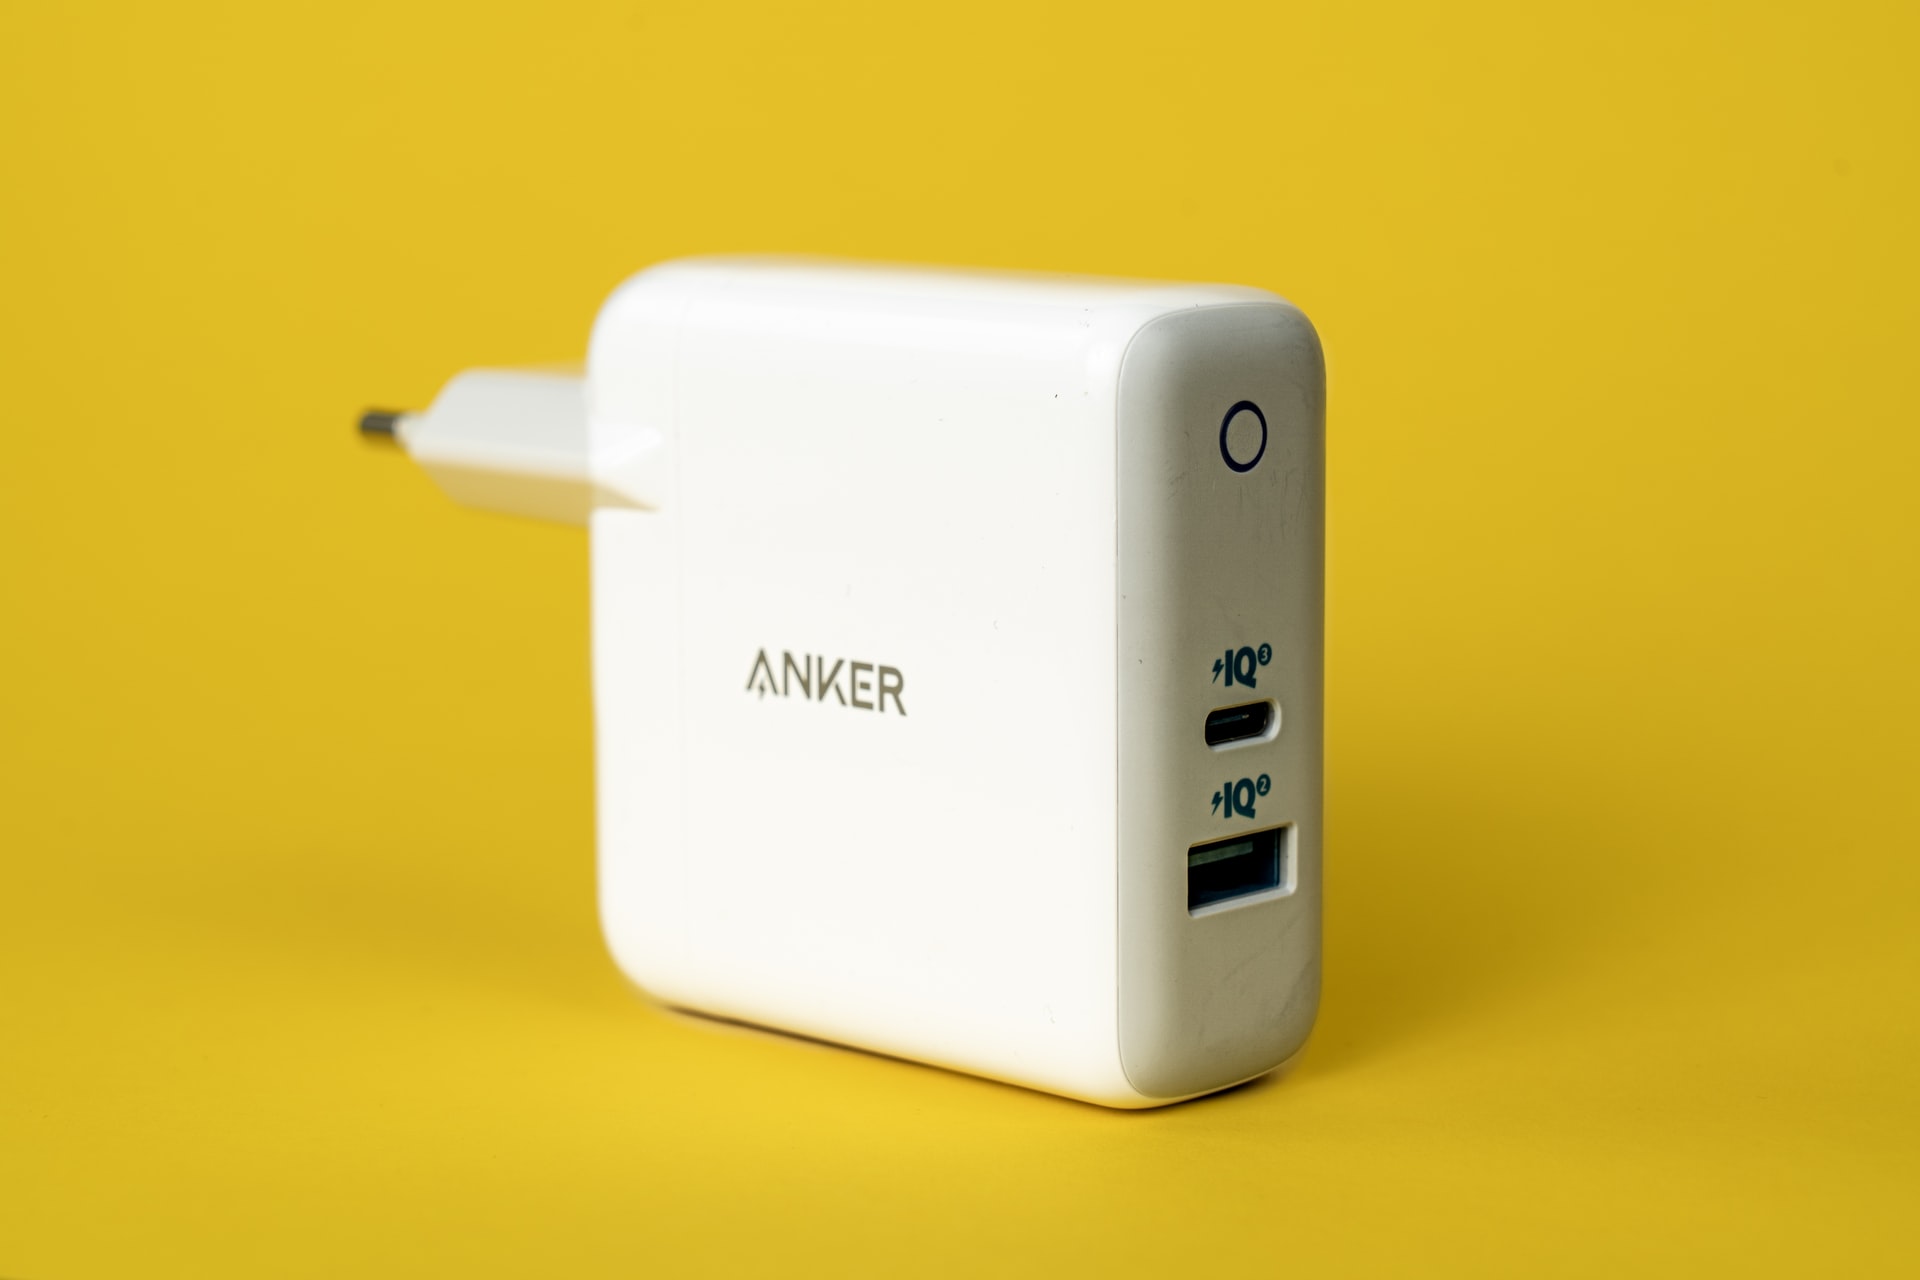
The USB Type-C port has become the new standard for MacBooks and iMacs to connect your storage devices, external displays, etc. The charger that you get with your MacBook models also comes with a Lightning to Type-C cable to enable fast charging.
So it becomes obvious the malfunctioning of a USB Type-C port on your Mac can cause you a lot of hassle. The biggest ones being unable to charge your Mac and transfer data from storage devices. To get you rid of such troubles, we bring you the best ways to fix USB Type-C port not working on your Mac.
1. Clean the USB Type-C Port
Starting with some basic solutions, you should first clean the USB Type-C port on your Mac. If the port is not charging your Mac properly or not reading your storage device, you should check for dirt and debris that might be present inside the port. This happens due to prolonged usage. You can take a cotton bud or a small dental floss to gently clean the port. Then try reconnecting your device using that port.
2. Change the USB Type-C Cable or USB Type-C Hub
The next basic solution is changing the USB Type-C cable or USB Type-C hub which you use with your Mac. The cable may have become faulty due to rough handling or prolonged usage. You’ll need to ensure that you are using the MFI-certified USB Type-C cables with your Mac for data transfer. For charging purposes, using the USB Type-C cable that comes with your Mac is a good idea. Also, we recommend you get a dedicated USB Type-C hub for your Mac.
3. Check Finder Sidebar Preferences
Whenever you connect any device like your iPhone, USB drive, or SD card with your Mac, it shows up in the Finder Sidebar for data access. If the USB Type-C port is still not functioning properly despite charging the cable or USB Type-C hub, here’s how you can check the Finder Sidebar preferences for your Mac.
Step 1: Press Command + Spacebar to open Spotlight Search, type Finder, and press Return.
Step 2: Click on Finder in the top-left corner.
Step 3: Select Preferences from the list of options.
Step 4: In the Finder Preferences window, click on Sidebar.
Step 5: Check if all the items under Location are enabled.
You can also use the following steps to ensure that your connected devices appear on the desktop. This is another way of fixing the USB Type-C port.
Step 1: Click on the Finder icon in the Dock.
Step 2: Click the Finder tab on the top-left corner and select Preferences.
Step 3: Under the General tab, check if all the items listed are enabled.
Step 4: Connect your device using the USB Type-C port and check if it is working.
4. Restart Your Mac
Another basic solution we recommend is restarting your Mac to give a fresh start to macOS and all the applications installed on your Mac.
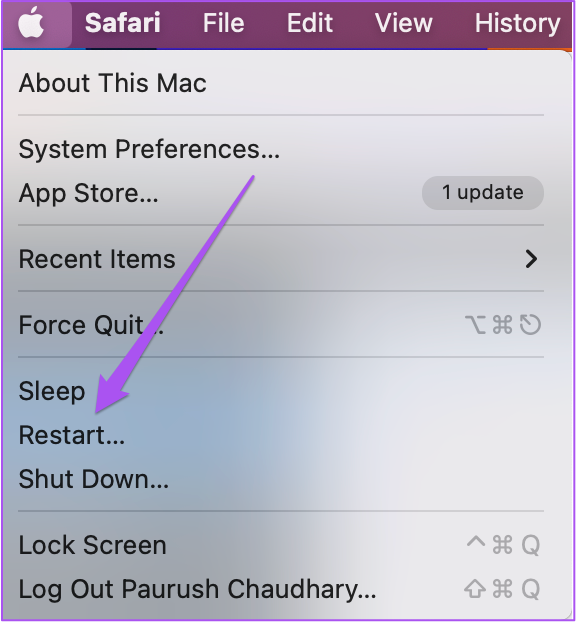
Step 1: Click the Apple icon in the top-left corner.
Step 2: Click on Restart from the list of options.
Step 3: Once your Mac restarts, check if the USB Type-C port is working.
5. Reset SMC (For Intel Macs Only)
SMC or System Management Controller takes care of many critical hardware functions and performance of your Mac. Since we are dealing with a USB Type-C port, you can try resetting your Intel-based Mac’s SMC. This doesn’t apply to Macs with M-series chips. For them, a simple restart is quite close to an SMC reset.
Here’s how to start with SMC reset on your Mac or iMac with an Intel chip.
Step 1: Press and hold the Power Button until your Mac shuts down.
Step 2: After your Mac shuts down, wait for a few seconds and then press Shift + Left Option + Left Control key. Press and hold the Power Button as well.
Step 3: Keep pressing the four keys for another 7 seconds. If your Mac turns on, it will play the default startup chime again while you hold down those keys.
When you see the Apple logo, the display will turn on normally. After that, check if the USB Type-C port is working or not.
6. Update macOS
This malfunction may occur due to a bug or glitch in the current version of macOS. We suggest checking an update for macOS on your Mac or iMac.
Step 1: Click the Apple logo at the top-left corner.
Step 2: Click on About This Mac.
Step 3: Click on Software Update.
Step 4: If an update is available, download and install it.
Step 5: After the installation, check if the USB Type-C port is working or not.
7. Check USB Info in System Report
If you have tried all the solutions and the USB Type-C port is still not working, there may be some internal hardware damage. To check that, you should look for your Mac’s USB Info in System Report.
Step 1: Click the Apple logo at the top-left corner.
Step 2: Click on About This Mac.
Step 3: Click on System Report.
Step 4: Click on USB from the left menu.
Step 5: Check the USB Info for your ports on the right side.
8. Visit Nearest Apple Store
If you did not see any information for your USB Type-C port(s) in the System Information window of your Mac or iMac, you should visit your nearest Apple Store to get the port repaired by experts.
Fix USB Type-C Port
These steps will help you fix any issues with the USB Type-C port on your Mac. You can read more in our post highlighting the best fixes for USB accessories disabled on Mac.
Last updated on 25 October, 2022
The above article may contain affiliate links which help support Guiding Tech. However, it does not affect our editorial integrity. The content remains unbiased and authentic.


