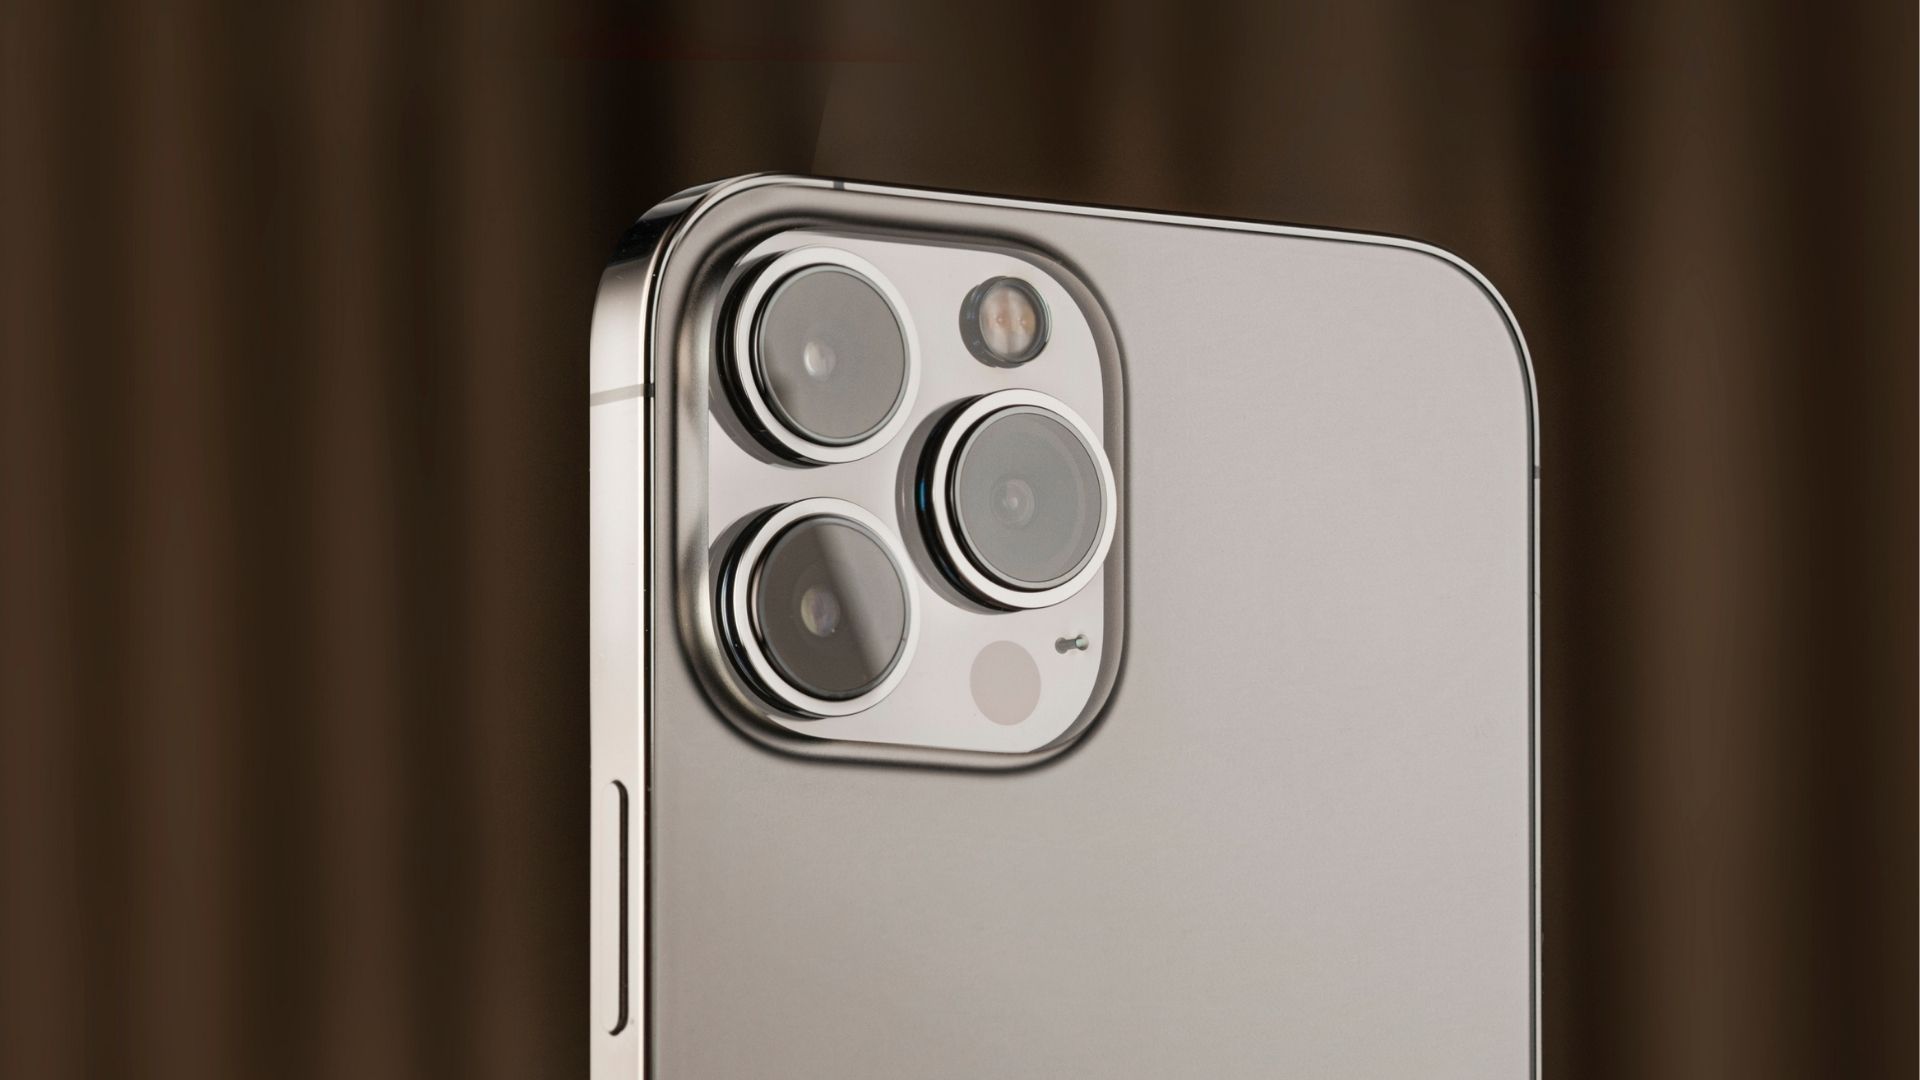
After years of sticking to the good ‘ol 12MP sensors, Apple finally made the shift to 48MP on the iPhone 14 Pro. The new 48MP camera clicks photos with excellent details, thanks to the high-res sensor. However, Apple caps the photo output to 12MP by default to save space. If you want those full-resolution shots, though, here’s how to take 48MP photos on your iPhone 14 Pro or 14 Pro Max.

Most times, you should be fine with the 12MP output from the iPhone. But, there may be instances where you’re capturing human subjects or faraway landscapes. This is where the extra pixels come in handy. If you’re wondering why the photos from your iPhone 14 Pro aren’t in 48MP, let’s go about enabling the 48 Megapixel mode and tell you how to use it.
What Is the Use of 48MP Photos
If you grab your iPhone right now and click a picture, it will capture a 12MP photo. This is due to a process known as pixel binning. Pixel binning combines adjacent pixels to form one large pixel. This is mainly done to increase the size of individual pixels and to save precious storage space on your iPhone. While a 12MP output is equally good, you would see that it lacks details when you zoom in.

This is where the 48MP mode is super helpful. More the pixels, the more detailed the image is. So, a 48MP photo will have more details when you zoom into it compared to a 12MP image. Move on to the next section to learn how to take high-resolution photos with your iPhone 14 Pro.
How to Take 48MP Photos on iPhone 14 Pro Series
Before you enable the iPhone 14 Pro 48MP camera, it’s important to note that it’s not advisable to shoot in 48MP all the time. This is because 48MP photos are considerably large in size compared to 12MP images.


A 12MP photo is generally around 2-5MB while a 48MP photo of the same scene can be around 60-100MB. This means that if you capture in 48MP all the time, you will end up filling your iPhone’s storage much faster. So, use the 48MP mode on the iPhone only when necessary. That being said, here’s how to enable it.
Step 1: Open the Settings app on your iPhone. Scroll down and select the Camera tab.

Step 2: Tap on the Formats section at the top.

Step 3: Under Photo Capture, you will find the Apple ProRAW option. Enable the toggle next to it.

Step 4: Head into the ProRAW Resolution tab next. Select 48MP. This sets the iPhone camera resolution to 48MP.


You’re now ready to click 48MP photos on your iPhone 14 Pro.
Step 5: Open the Camera app. You will now see a new RAW button in the top-right corner. Tap on it.

Step 6: Click a picture and it will be captured as a high-res 48 Megapixel image.
This is how to turn on the 48MP mode on iPhone 14 Pro. Ensure that every time you want to click a picture in this mode, you will have to tap on the RAW button in the camera app.
How to Edit 48MP ProRAW Photos on iPhone
Now that you know how to turn on the 48MP mode and shoot RAW on the iPhone 14 Pro, it’s time to click some awesome pictures! However, all your pictures in the 48MP mode will be captured in the ProRAW format. This means that they won’t look as appealing straight out of the camera since there’s very little processing going on with these photos.
Hence, you will have to edit the 48MP ProRAW photos to your liking. Here’s how to do it.
Step 1: Open the Photos app on your iPhone. Navigate to the 48MP photo you clicked and tap on the Edit button.

Step 2: If you want the iPhone to edit your photo by itself, tap on the Auto button.

If you want to manually tune individual parameters like brightness, saturation, contrast, etc., swipe through the different options and use the slider to adjust them accordingly.


Step 3: Tap on Done in the bottom-right corner once you’ve finished editing.

Alternatively, you can use third-party photo editing apps like Adobe Lightroom or Snapseed for granular control over your edits.

Why Can’t I Capture 48MP Images on iPhone
Even after following the above steps, if you’re unable to capture photos in 48MP, it could be due to one of these reasons:
- You can capture 48MP photos only using the primary lens at 1X. While you can capture in ProRAW using the other lenses, the output won’t be a 48MP photo.
- If night mode is enabled when clicking a photo, it means that you’re not in the 48MP mode.
- The same applies to the camera flash and the macro mode. Both need to be disabled to click 48MP pictures.
- If you’re running low on storage on your iPhone, you won’t be able to capture 48MP photos due to its large size.
FAQs for Capturing 48MP Photos
No, the 48MP mode is only available on the iPhone 14 Pro and above.
Photos taken in the 48MP mode are more detailed than 12MP photos. However, 12MP photos clicked by the iPhone undergo some processing that might make them more appealing to the average user. You will have to edit 48MP ProRAW photos by yourself and without prior experience, you may not be able to achieve the desired result.
Capture Stunning Details
Apple has seriously upped its camera game with the new 48MP sensor on the iPhone 14 Pro series. So, it only makes sense to take full advantage of the high-resolution sensor when clicking photos.
Following the guide carefully should tell you how to take 48MP photos on your iPhone 14 Pro so that you can zoom into photos without worrying about losing details. Also, check out how to customize Always On Display on iPhone 14 Pro.
Last updated on 10 February, 2023
The above article may contain affiliate links which help support Guiding Tech. However, it does not affect our editorial integrity. The content remains unbiased and authentic.


